This post will guide you through the steps needed to setup a Microsoft Azure Backup Server.
Azure Portal
Log into your Azure portal and select Recovery Services vaults. Click add to create a new vault. Add the Name, Subscription, Resource group, and Location. Once your vault is created, click on the Name of your vault. Under ‘Getting Started’, click on Backup. In the first step, ‘Backup goal’, change ‘Where is your workload running?’ to ‘On-premises’ and select ‘Hyper-V Virtual Machines’ as the ‘What do you want to backup’. After you click ‘OK’ you will be presented with a download for Microsoft Azure Backup Server. Download all three items: Microsoft Azure Backup Server (there are 6 parts to the download), vault credentials, and latest updates. That is the only configuration needed within the Azure Portal. The rest of the configuration will take place on your server.
Installation
Before you install: Microsoft Azure Backup Server must be installed on a machine joined to a domain.
-
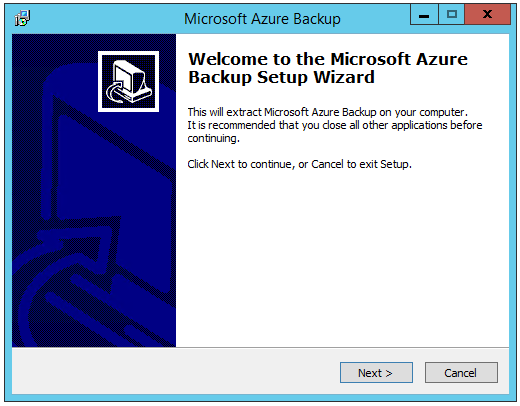
Run MicrosoftAzureBackupInstaller.exe. Click ‘Next’.
-
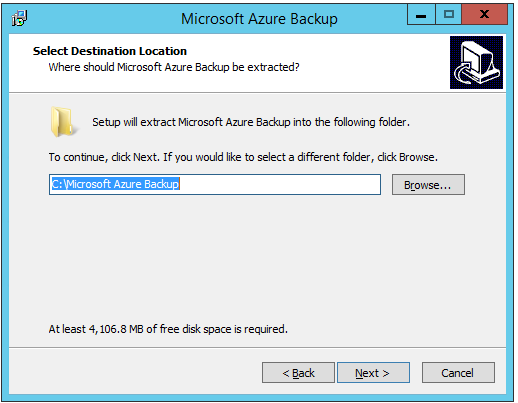
Select extract location. Click ‘Next’.
-
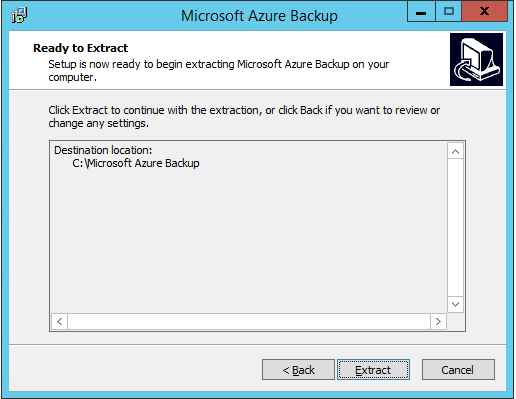
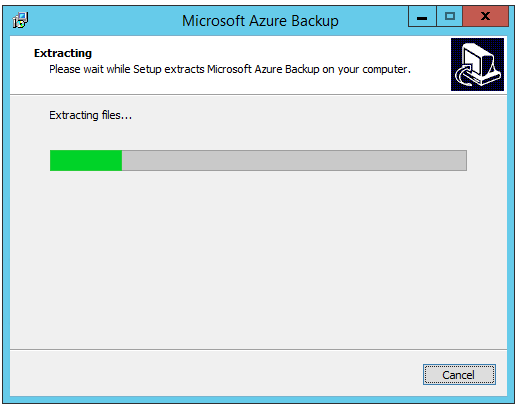
Click ‘Extract’.
-
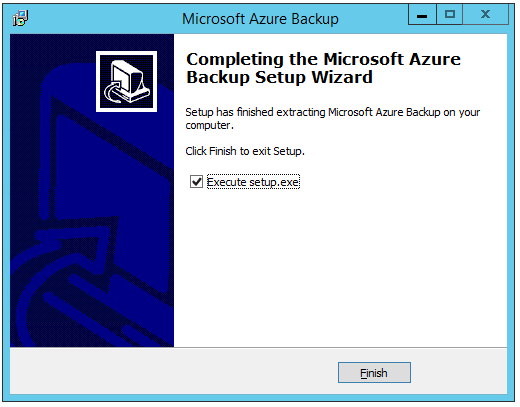
Leave ‘Execute setup.exe’ checked. Click ‘Finish’.
-
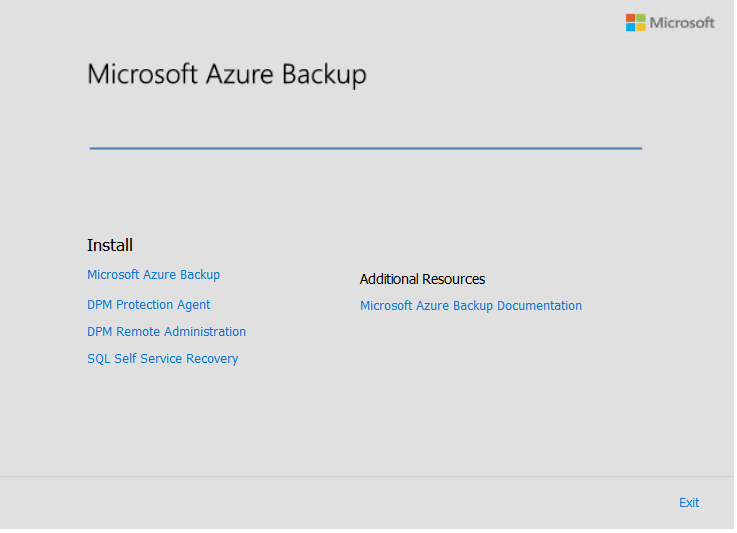
Click on ‘Microsoft Azure Backup’ under Install.
-
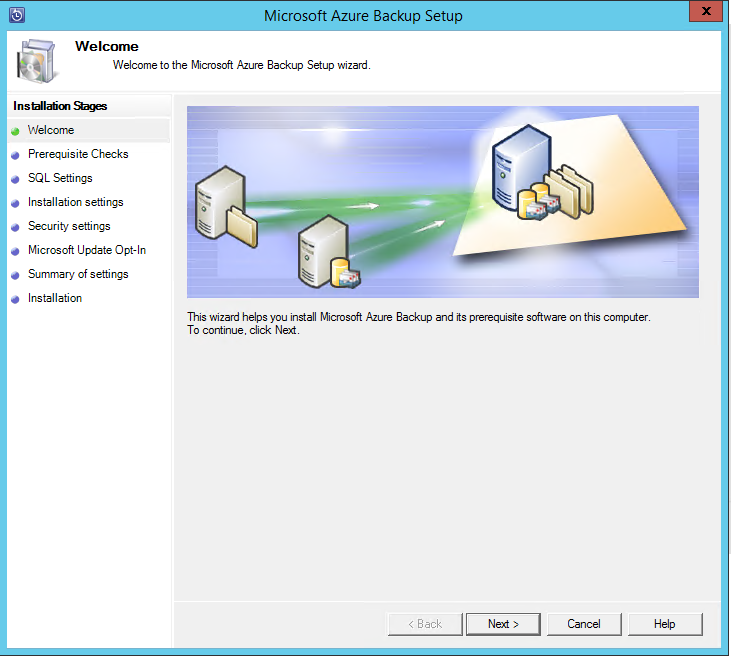
Click ‘Next’.
-
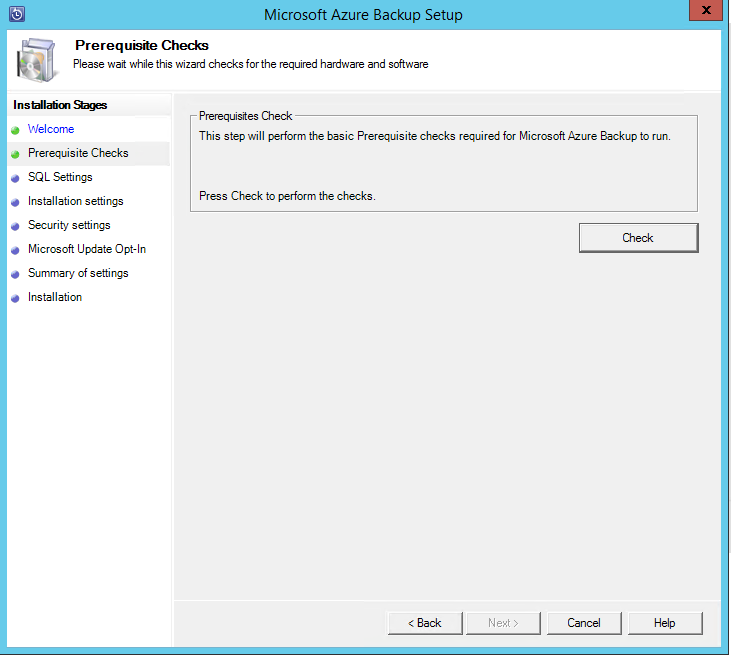
Click ‘Check’.
-
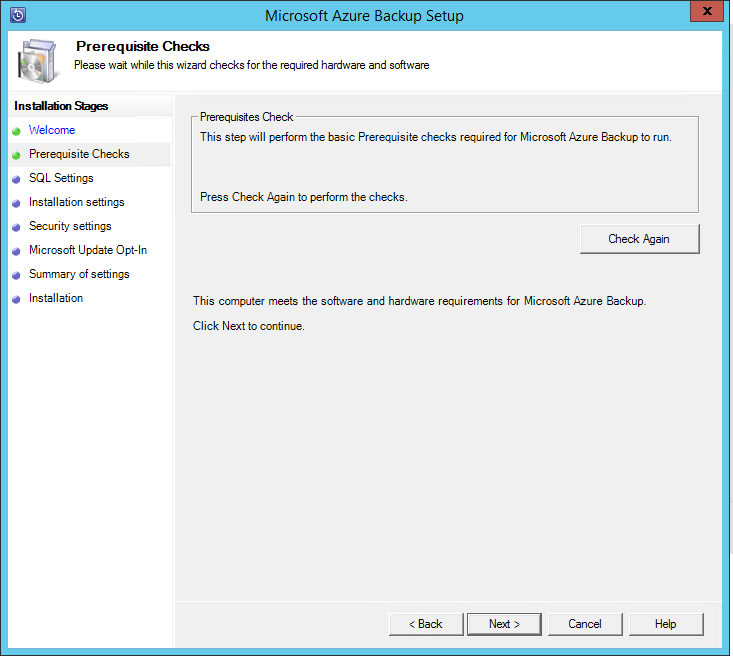
If your machine meets the requirements to install, click ‘Next’. Microsoft Azure Backup Server requirements.
-
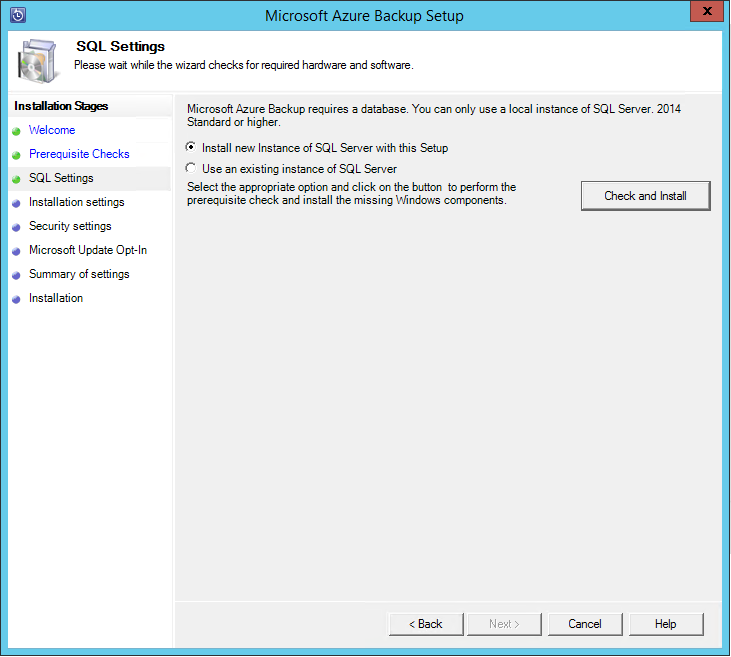
Either install the database in a new SQL Server instance, or an existing instance of SQL Server. Note, the database needs to be SQL Server 2014 or higher if you want to use an existing database. Click ‘Check and Install’.
-
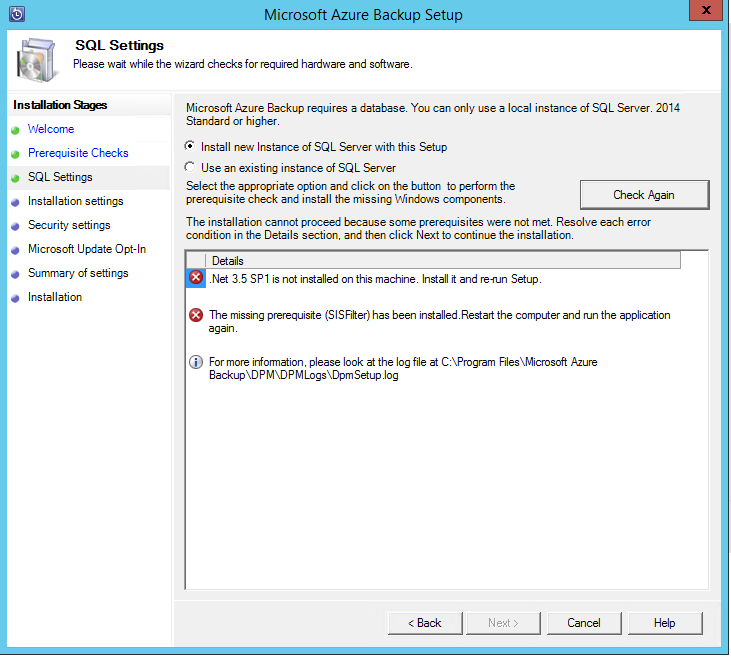
If any software prerequisites are missing for SQL Server, they will be displayed. Install the prerequisites and restart the setup.
-
If you restarted the setup, click ‘Check Again’. If all prerequisites for SQL Server are installed, click ‘Next’.
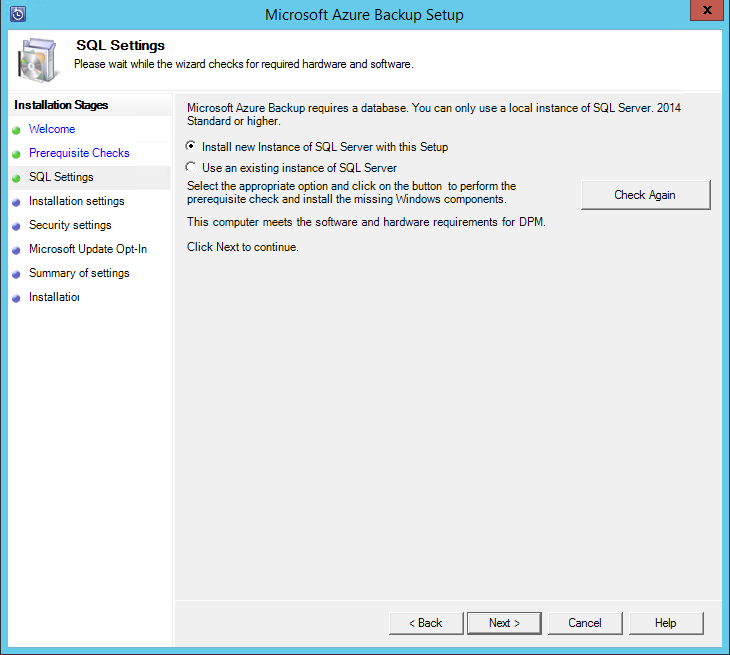
-
Change any of the Microsoft Azure Backup Files locations. Click ‘Next’.
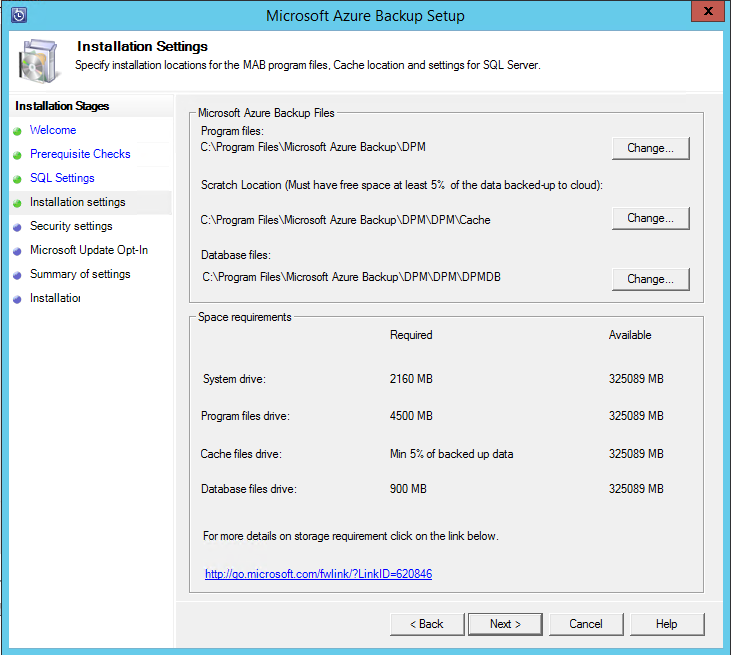
-
Enter password used for the SQL Server and SQL Server Agent service accounts (if a new instance of SQL Server was installed). Click ‘Next’.
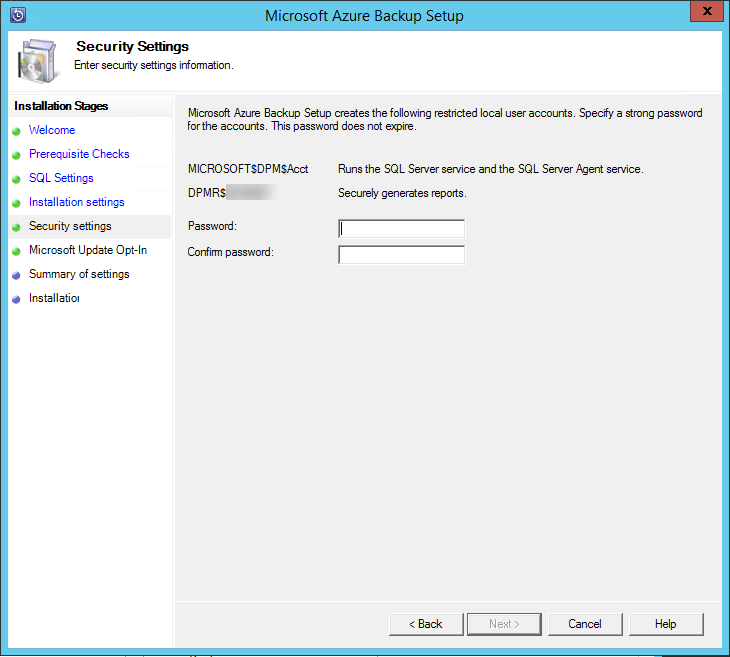
-
Click ‘Next’.
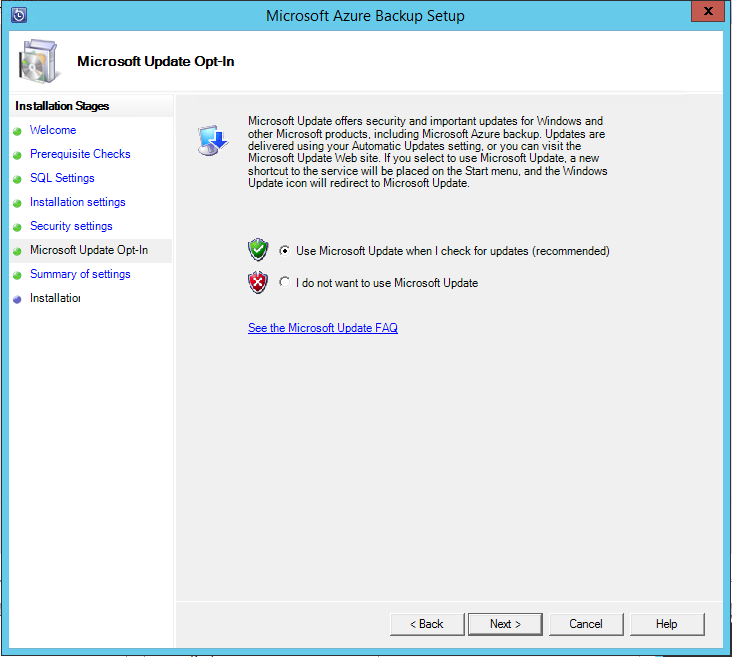
-
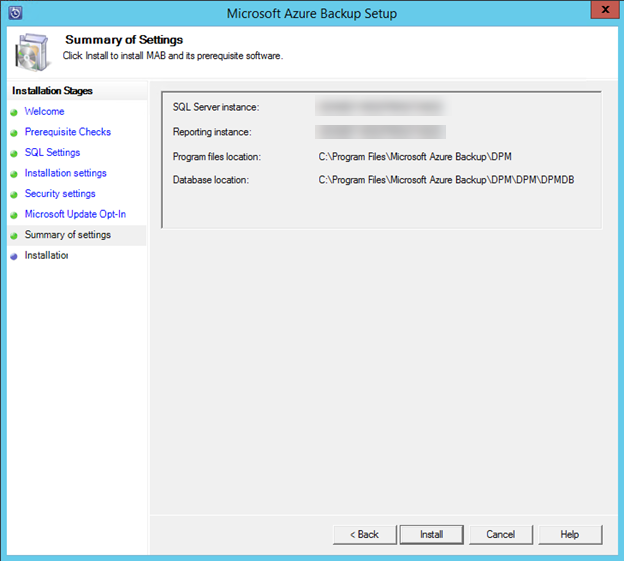
Click ‘Install’.
-
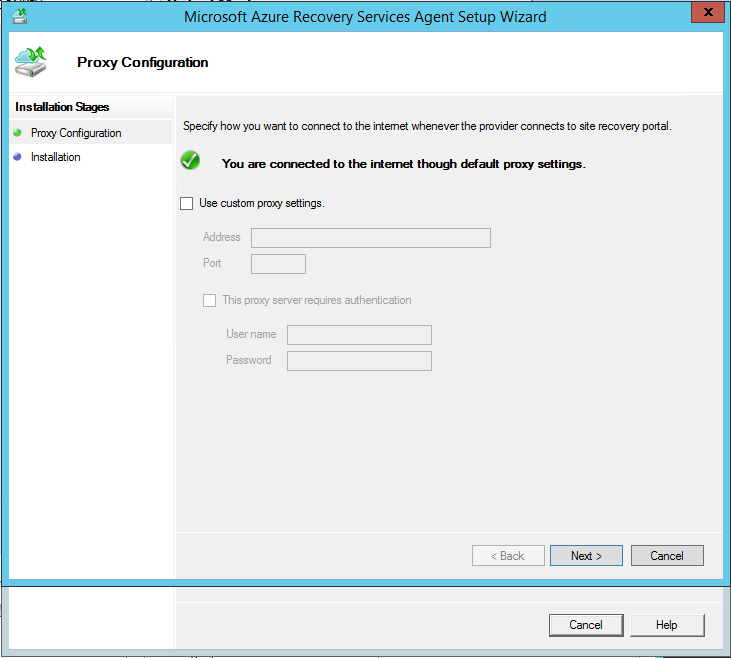
Add proxy settings, if a proxy is used. Click ‘Next’.
-
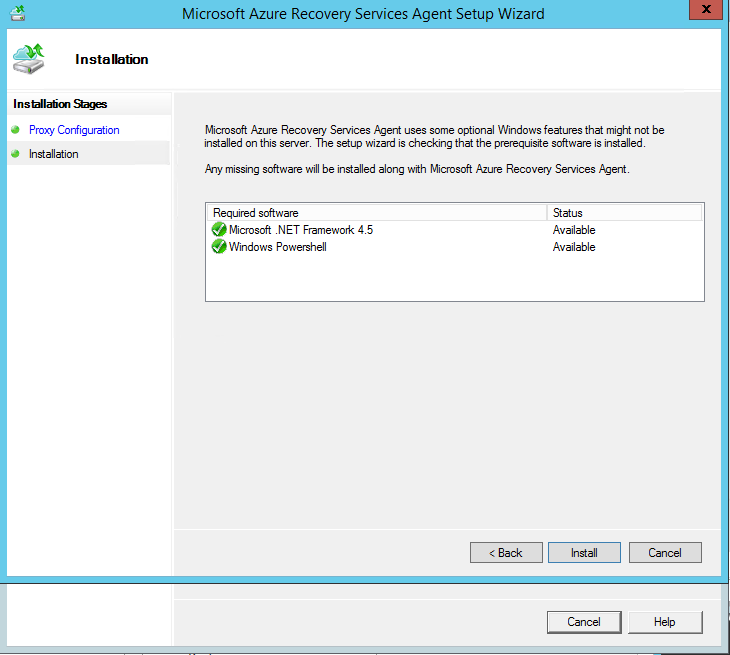
Click ‘Install’.
-
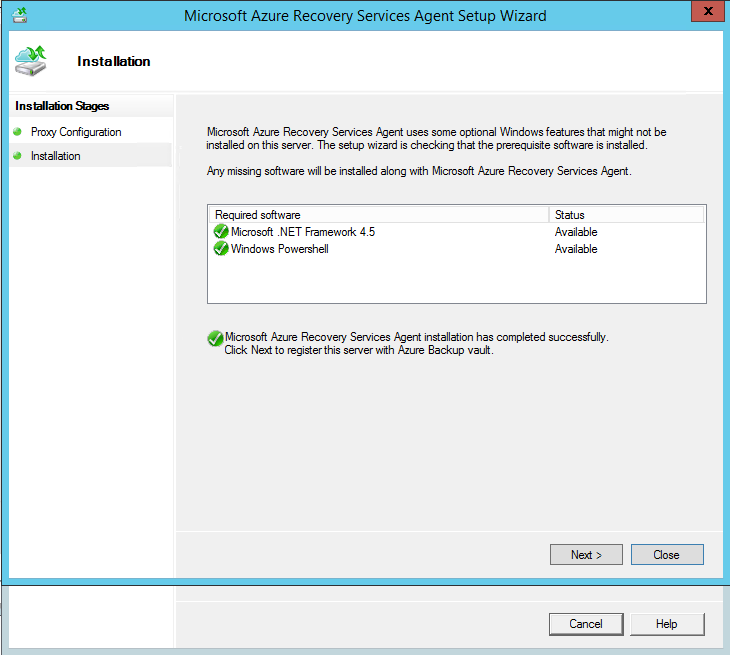
Click ‘Next’.
-
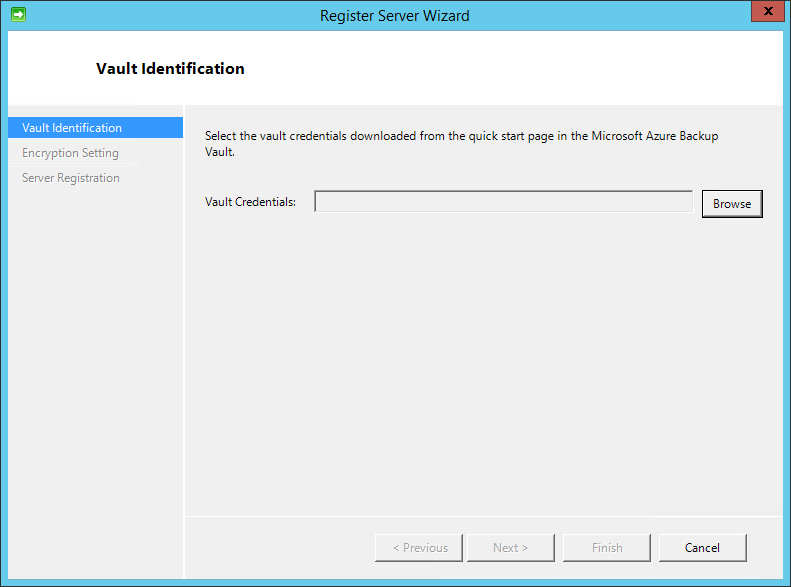
Click ‘Browse’. Select the vault credentials file that you downloaded from the Azure portal. Click ‘Next’.
-
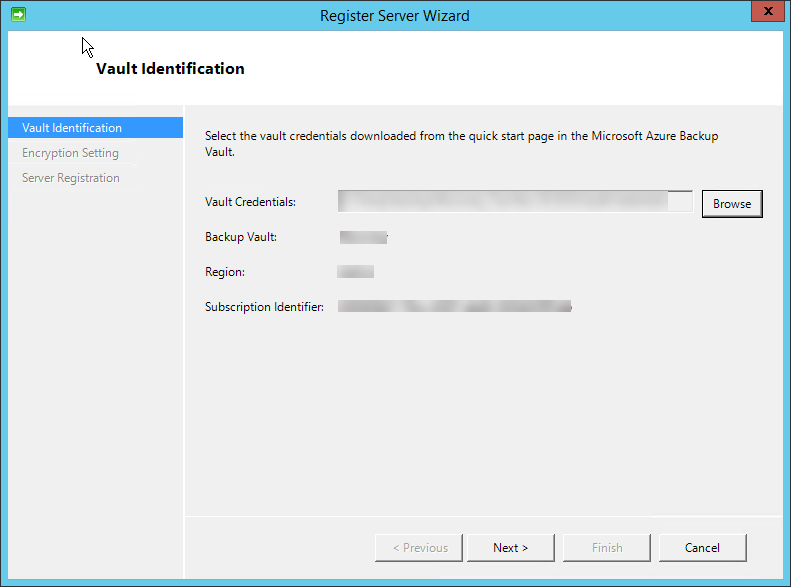
Confirm the imported information from the vault credentials file. Click ‘Next’.
-
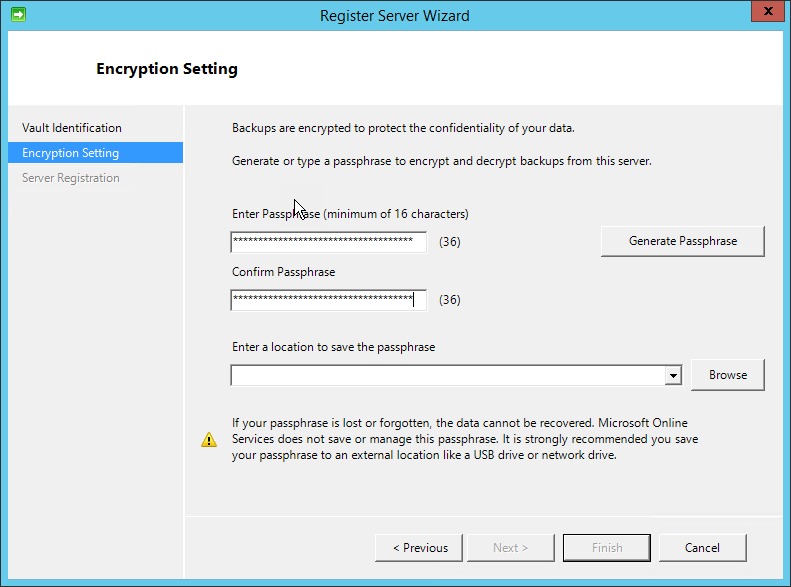
Enter or generate a passphrase that will be used to encrypt your backed up data. Optionally, you can save the passphrase to disk or a USB drive. Click ‘Next’.
-
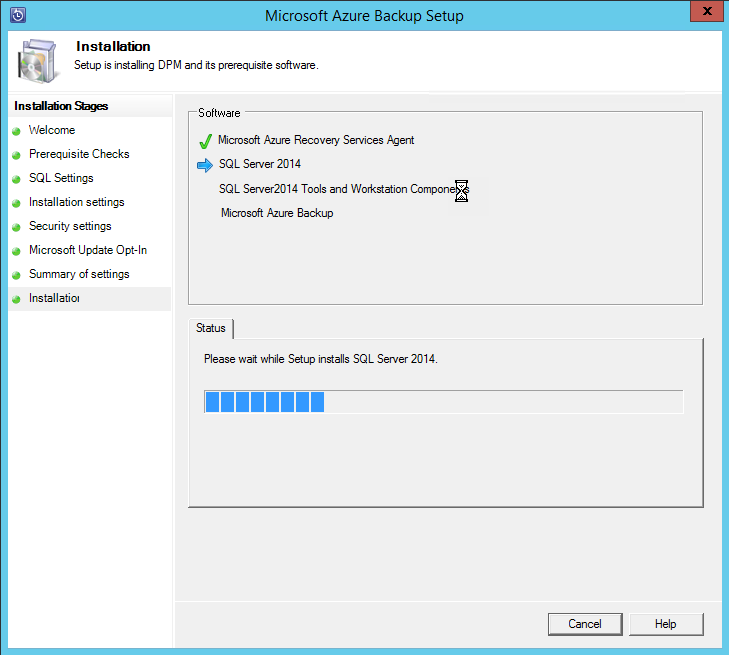
Microsoft Azure Backup server is installing.
-
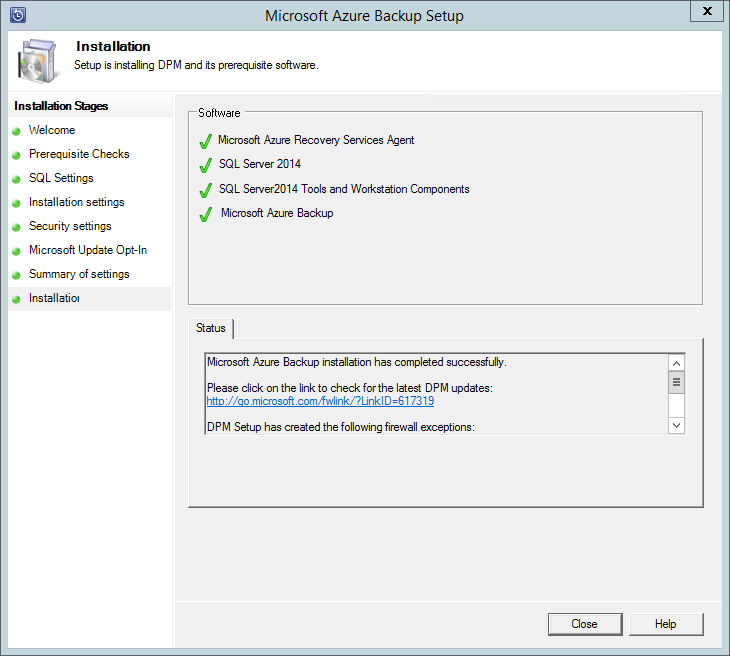
Your Microsoft Azure Backup server is installed. Click ‘Close’.
Install Client
-
Copy the installer (MicrosoftAzureBackupInstaller.exe) to your virtual machine, and follow the steps above to extract the archive.
-
Click on ‘DPM Protection Agent’ under Install.

-
Once the agent has been installed, from a command prompt, run:
SetDPMServer -Add -DPMServerName {Microsoft Azure Backup Server name}
in the directory: C:\Program Files\Microsoft Data Protection Manager\DPM\bin.
Setup Protection
-
Once the agent has been installed, in the Microsoft Azure Backup Server client application, click on ‘Protection’.

-
Click ‘New’ from the ribbon.

-
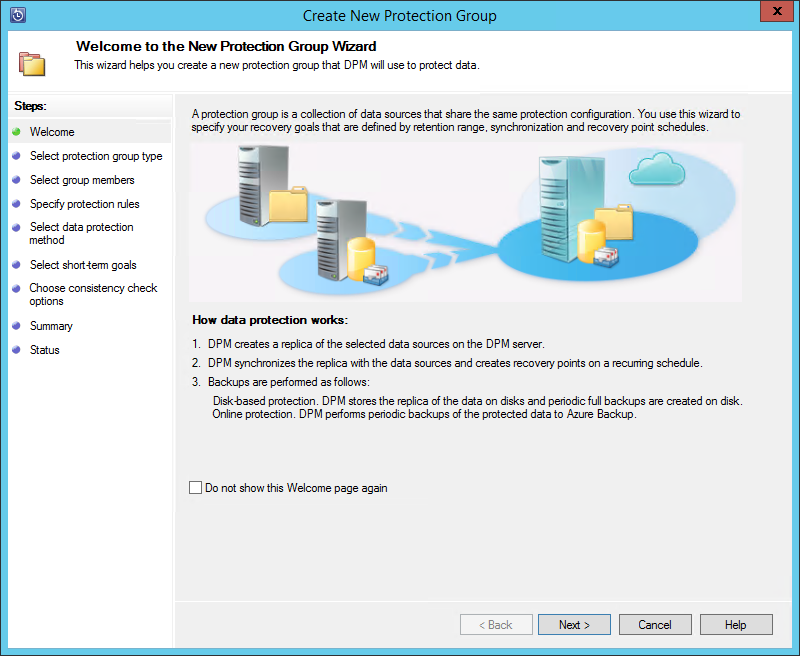
Click ‘Next’.
-
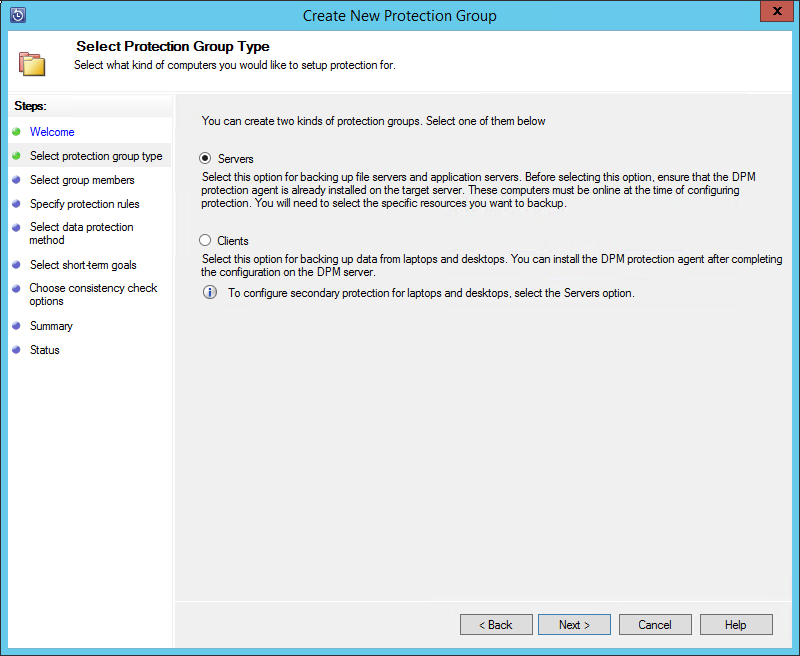
Select ‘Servers’ and click ‘Next’. As indicted, the DPM protection agent needs to be installed prior to this step.
Although this guide doesn’t cover Client backups (desktops and laptops), these backups can also be performed by Microsoft Azure Backup Server
-
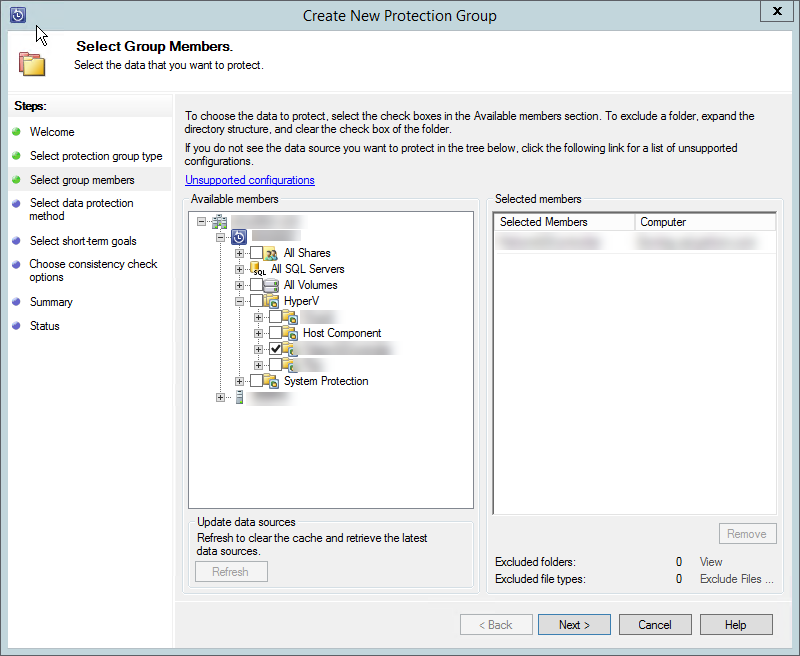
Select the VM that you would like to backup. You could also select only directories within those VM’s to backup. Click ‘Next’.
-
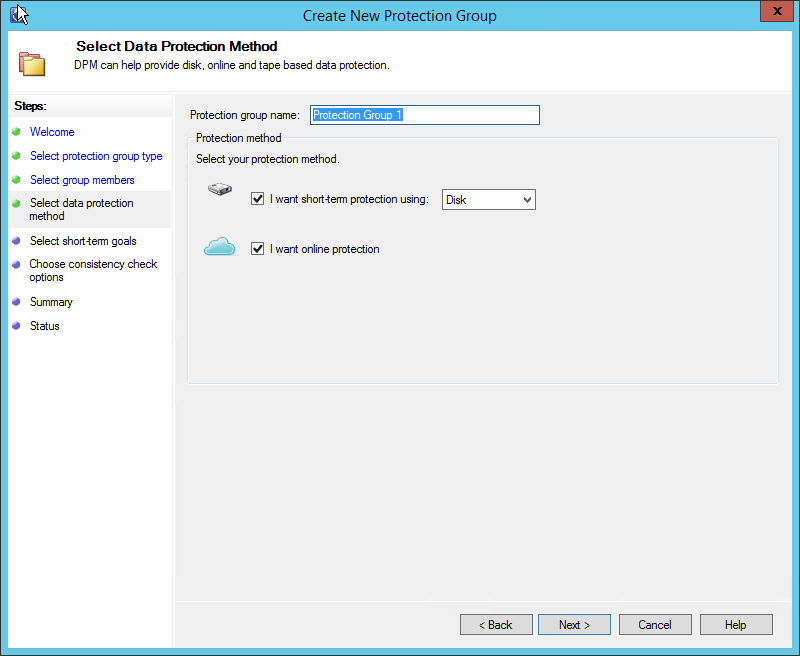
Give your Protection group a name. Select both protection methods. This will create a backup on your local disk as well as store a backup in your Recovery Services vault in Azure. Click ‘Next’.
-
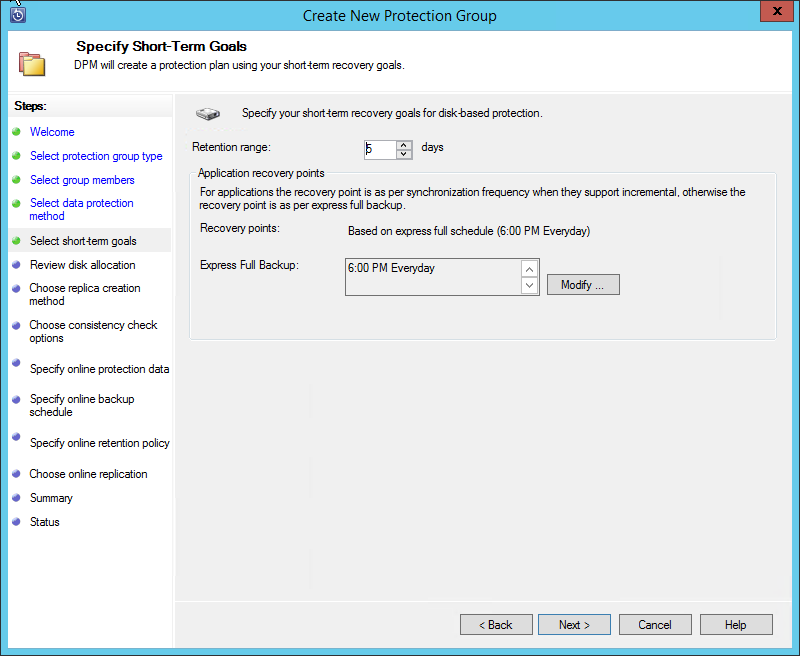
Specify your recovery goals for your local backups.
-
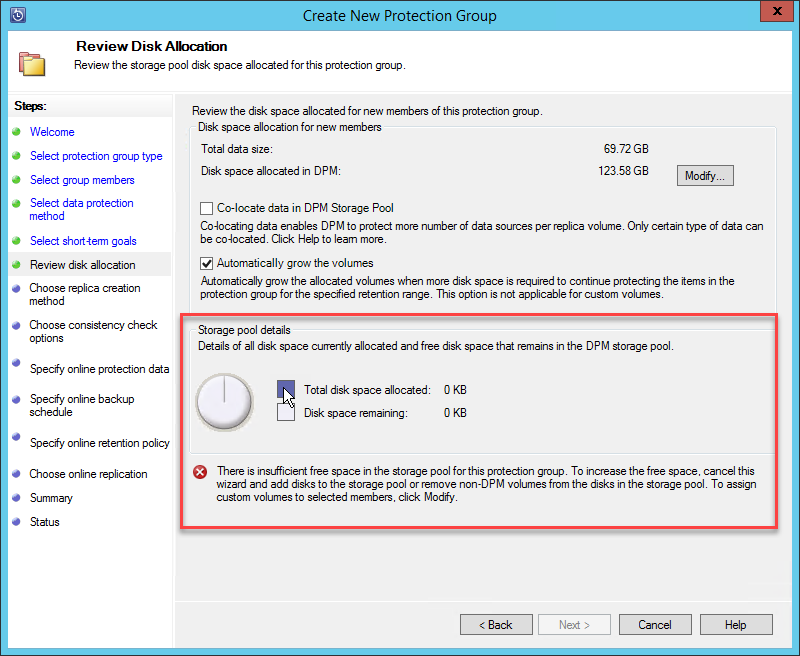
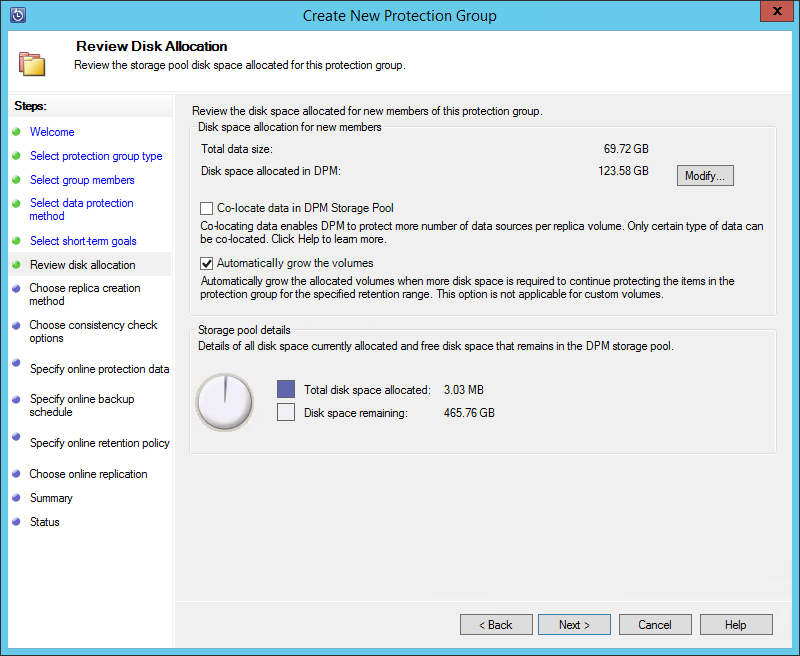
Review your disk allocation. If under storage details, both ‘Total disk space allocated’ and ‘Disk space remaining’ are 0 KB, you need to allocate disk space for your backups. Follow the steps below to allocate disk space.
-
Click ‘Management’.

-
Click ‘Add’ from the ribbon.

-
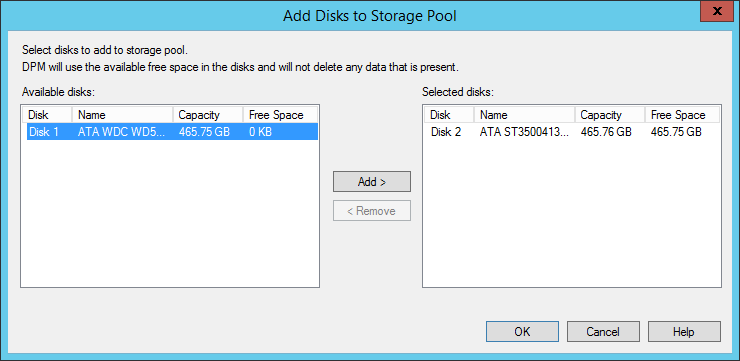
Add a disk. The only disk you can add is an unallocated disk (disk with no drive letter). If your disks are allocated, open ‘Disk Management’. Select the disk you want to unallocate, and select Delete volume. The drive should now be unallocated space. Run the setup again, and continue.
-
Click ‘Next’.
-
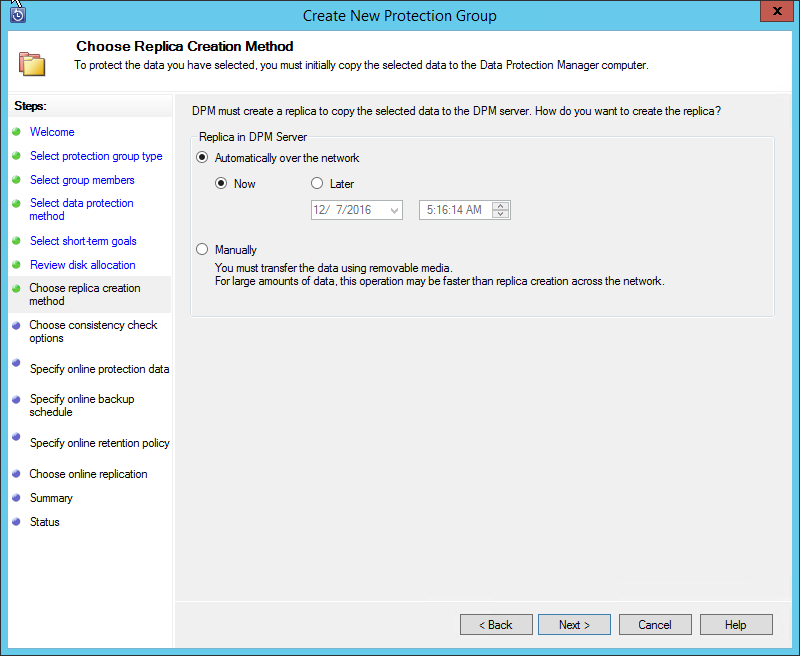
Choose a replica creation method. Click ‘Next’.
-
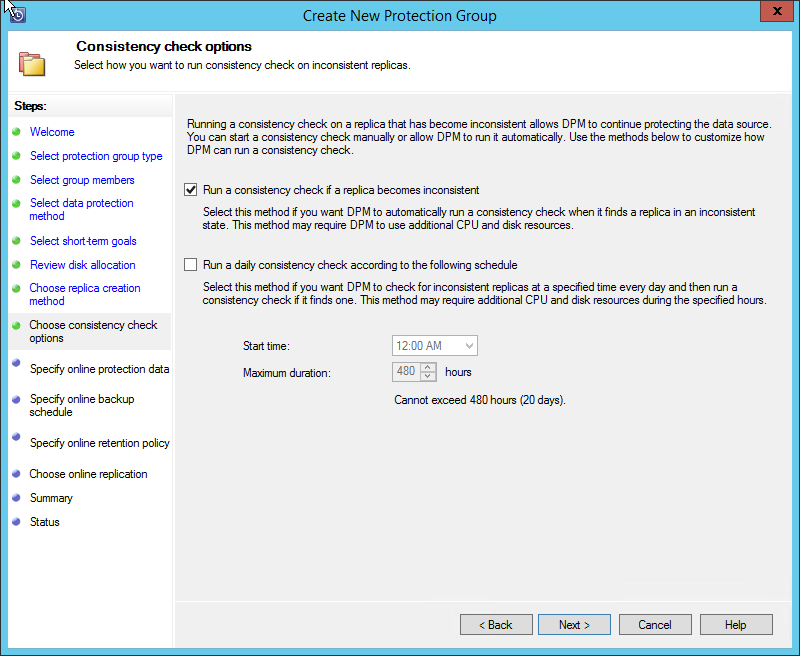
Select consistency check options. Click ‘Next’.
-
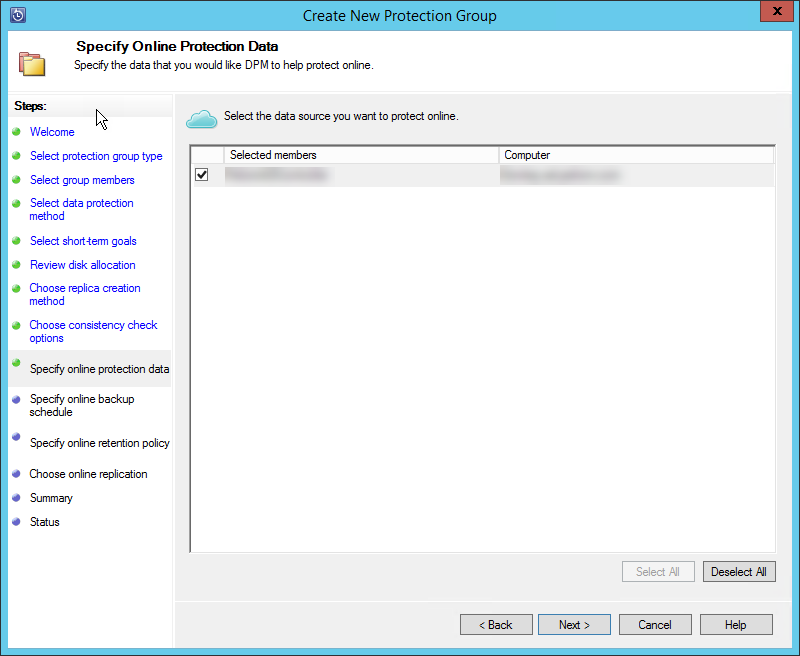
Select what you would like to backup to your Recovery Services vault. Click ‘Next’.
-
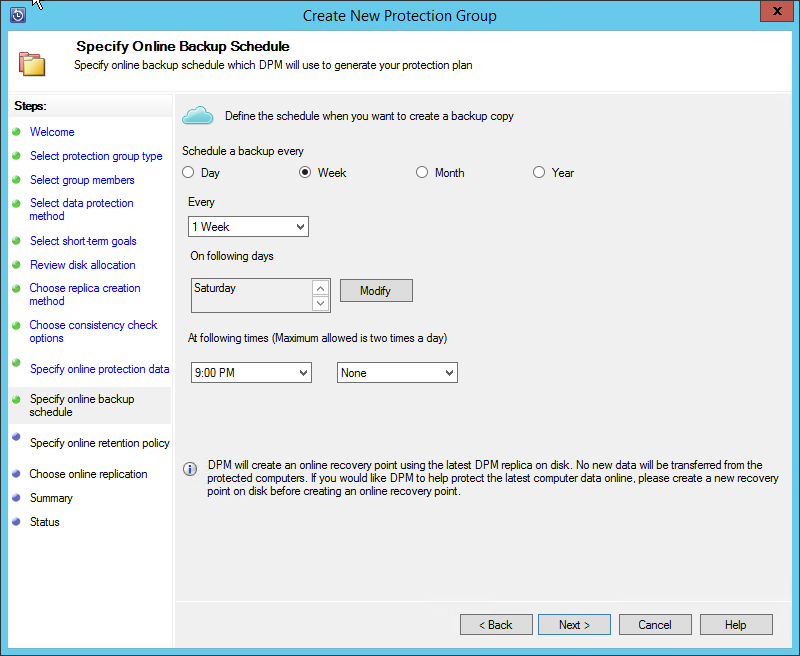
Specify a schedule to backup to your Recovery Services vault. Click ‘Next’.
-
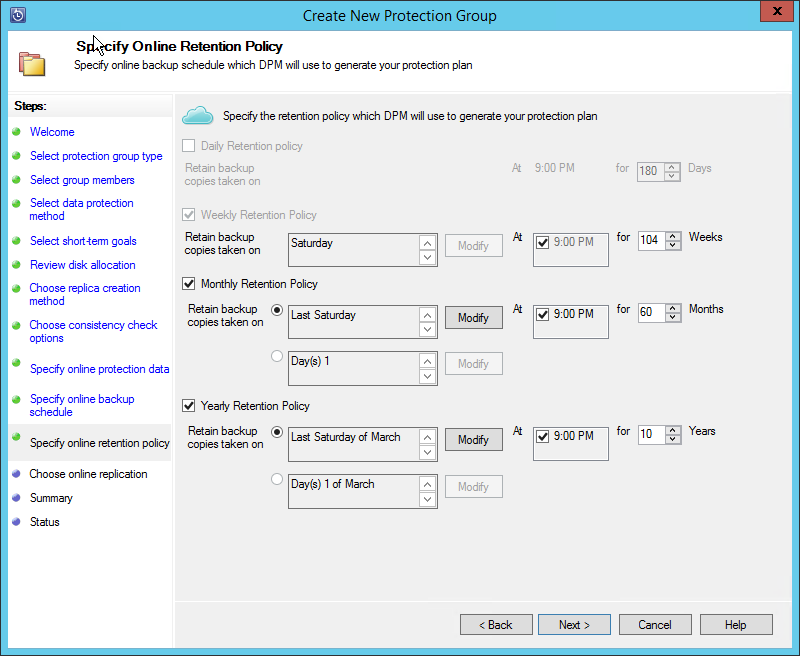
Specify a retention strategy for your backups in your Recovery Services vault. Click ‘Next’.
-
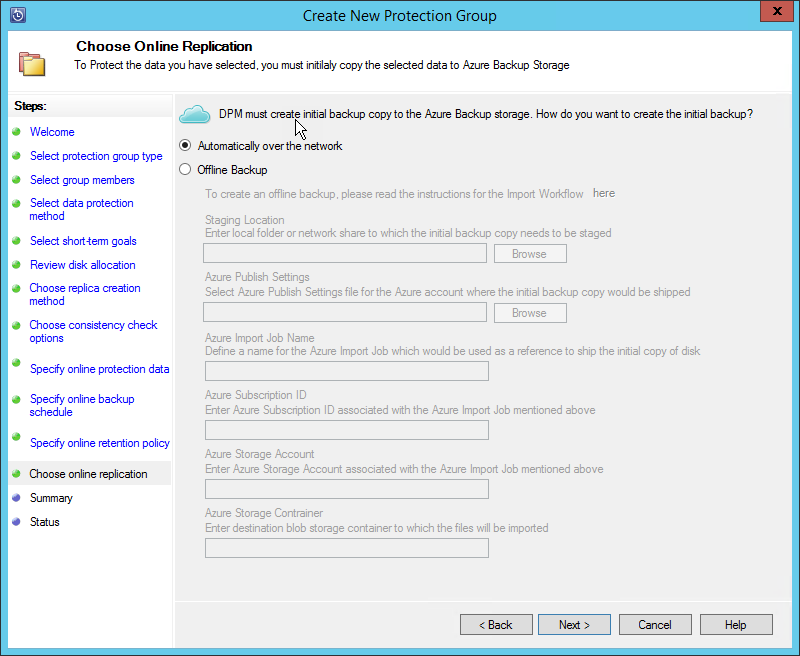
Choose how you want to perform your first backup. You can select ‘Automatically over the network’ or ‘Offline Backup’. ‘Offline Backup’ involves transferring data to Azure by disk. You can read more about ‘Offline Backup’ here. Click ‘Next’.
-
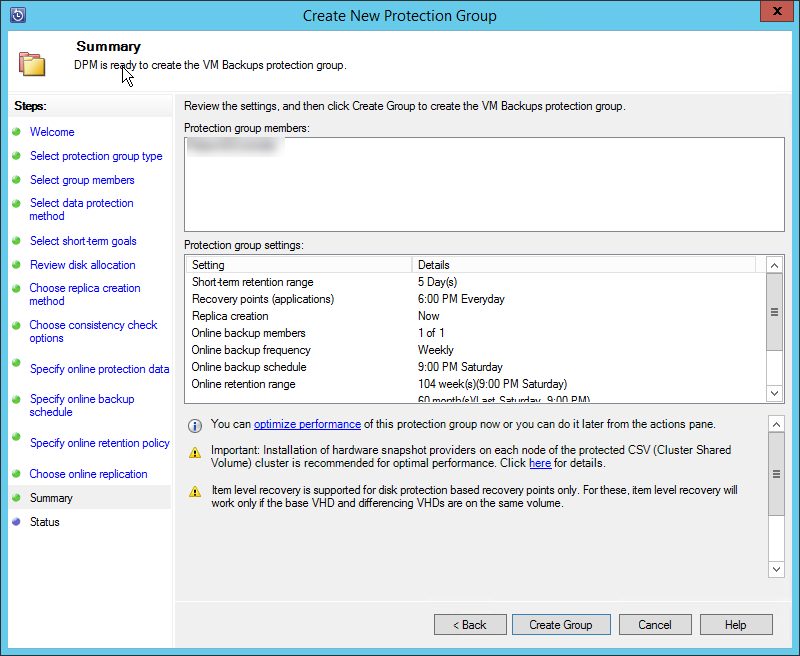
Click ‘Create Group’.
-
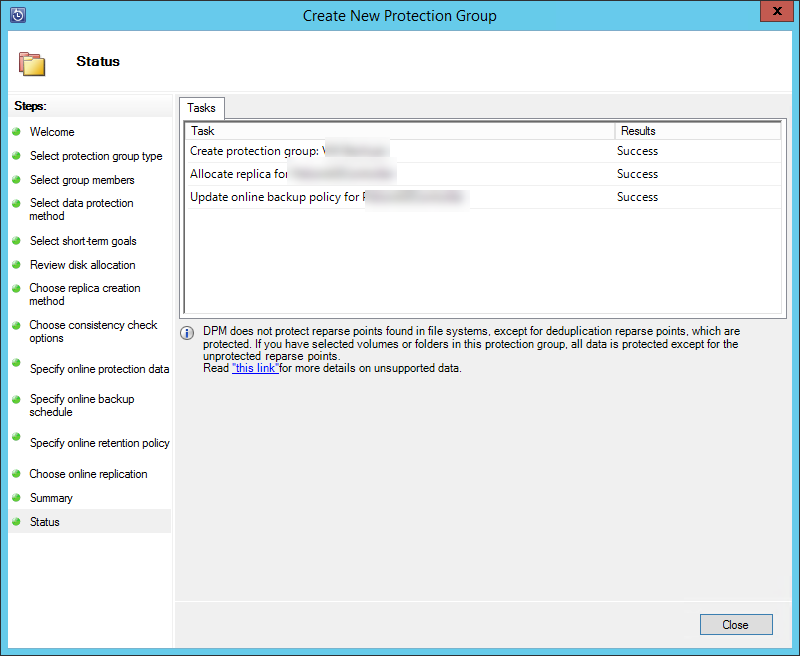
Your protection group is created and your backup server is enabled. Click ‘Close’.
To review any issues, click ‘Monitoring’ and review the ‘Alerts’. Also, in Event Viewer under: ‘Applications and Services’ there are events under ‘CloudBackup’, ‘DPM Alerts’, and ‘DPM Backup Events’.