I wrote an Azure timer function that pulls email addresses from Azure AD using the Microsoft Graph API. Those email addresses are submitted to HaveIBeenPwned.com. If any results are returned, they are stored in a SharePoint list, again using the Microsoft Graph API. Finally, I created a Flow workflow on the SharePoint list to send a notification to a Microsoft Teams channel any time a new item is added to the SharePoint list.
Visual Studio
Ensure you have the Azure development workload install as part of Visual Studio 2017
- In Visual Studio, select ‘File’ -> ‘New’ -> ‘Project…’. Under ‘Cloud’, select Azure Functions. Name your project and click ‘OK’

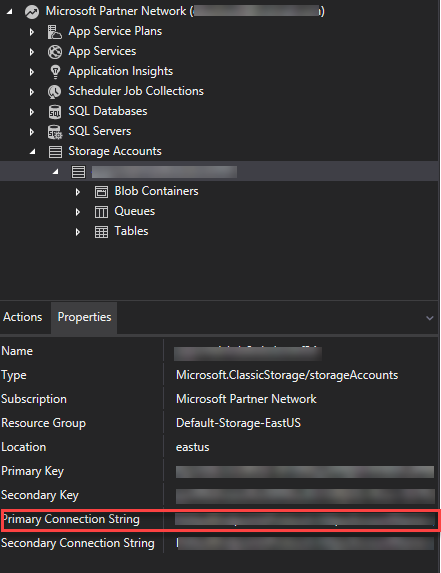
- The Azure Storage Emulator does not support Azure Functions locally, so a connection to an Azure Storage Account is required. To connect to an Azure Storage Account from your Azure Function, open Cloud Explorer (under the View menu or Ctrl+\, Ctrl+X). Connect to Azure, and navigate to a Storage Account. If you do not have a Storage Account, go to the Azure portal and create one (About Azure storage accounts). Click on your storage account and click on the Properties tab. There will be a property called ‘Primary Connection String’. Copy the connection and paste it into the value of AzureWeJobsStorage in the local.settings.json within the project.
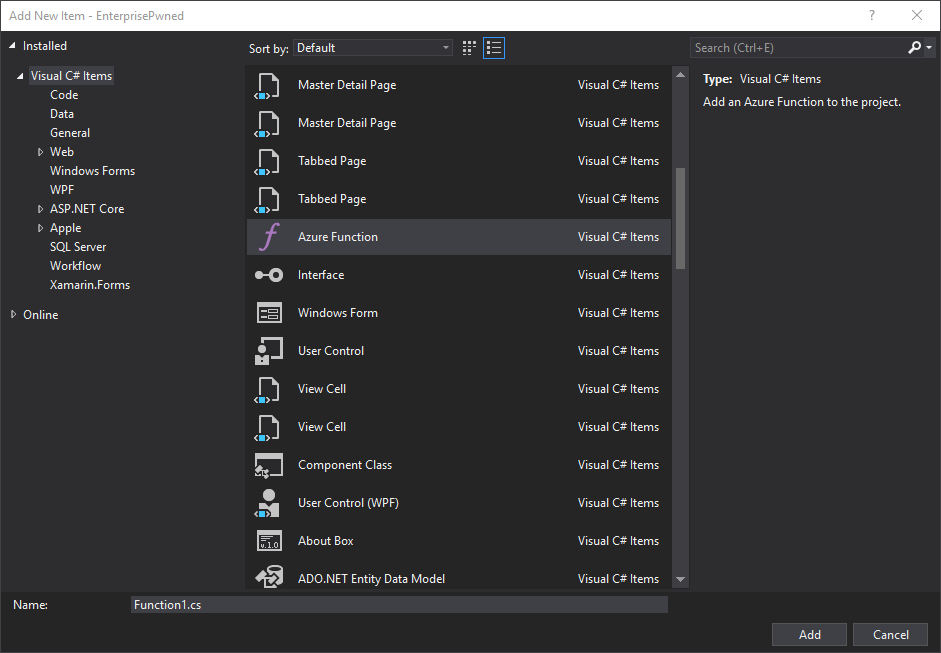
- Right click on your Project and from the context menu, select ‘Add’ -> ‘New Item…’. Search or scroll through items to find ‘Azure Function’. Enter a name for the class and click ‘Add’.
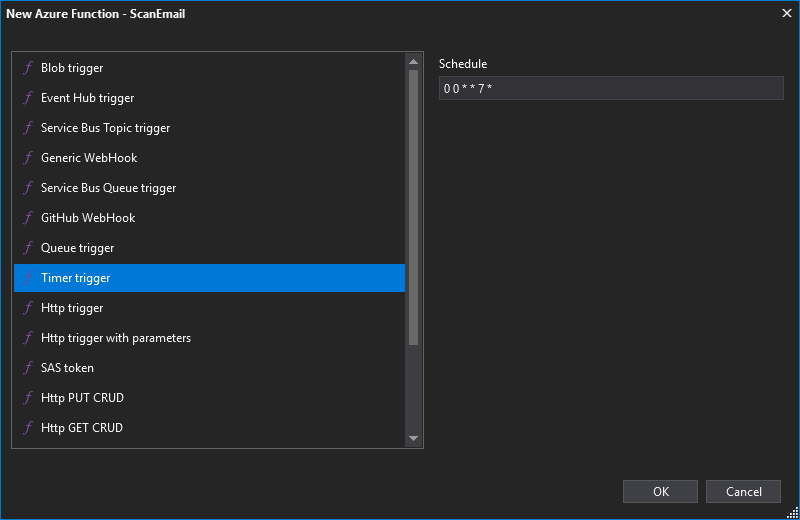
- Add a ‘Timer trigger’ function. The Schedule is based on NCrontab in the 6 field format. Note: the schedule I attempted to use was every Sunday at midnight. I messed up the schedule in the image below. It should be: 0 0 0 * * 0.
Application
see https://github.com/dbarkwell/EnterprisePwned
The README.md contains the local.settings.json template to use. Enter values for the following fields:
- AzureWebJobsStorage
- Tenant
- ClientId
- ClientSecret
- SiteId
- ListId
Register Application
-
Navigate to https://apps.dev.microsoft.com in your browser.
-
Click ‘Add an app’.
-
Enter your Application Name. Take note of the Application Id. This will be your Client Id.
-
Click ‘Generate New Password’. Take note of the Password. This will be your Client Secret.
-
Click ‘Add Platform’. Add a web platform. For local testing, add your localhost address.
-
Under Microsoft Graph Permissions, click ‘Add’ next to Application Permissions. This will add permissions for an app as opposed to added delegated permissions to a user. Add ‘Directory.Read.All’, ‘Sites.ReadWrite.All’, and ‘User.Read.All’ permissions.
-
Click ‘Save’.
-
Perform a GET request to the following address:
https://login.microsoftonline.com/{tenant}/adminconsent?client_id={Client Id / Application Id}&redirect_uri={localhost}
Replace tenant, client id, and localhost values. This will authorize the changes you just made.
SharePoint
-
Create a SharePoint (Office 365) site or add a list to an existing SharePoint site.
-
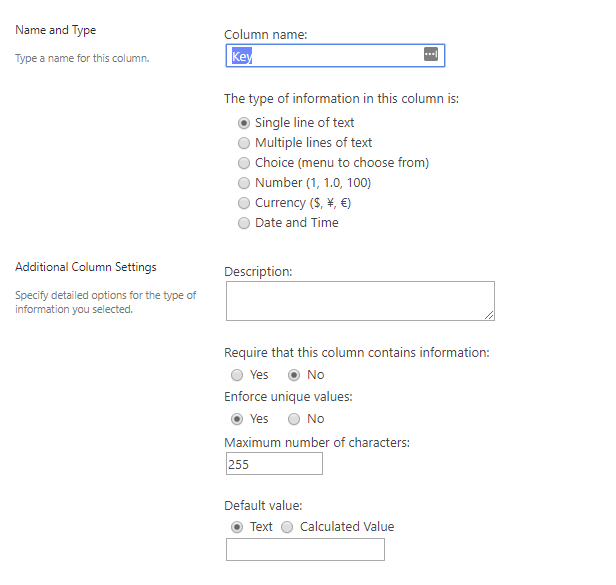
The list should contain the following fields:
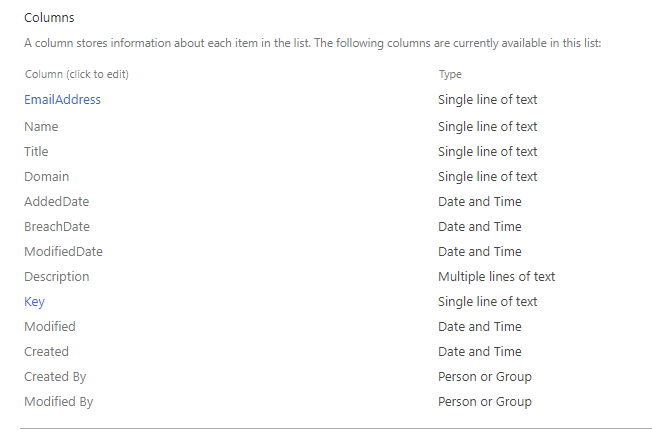
- The Key field is used to only store unique values in the list.
Flow
Whenever a new item gets added to a list, send a notification to a Microsoft Teams channel.
- From the SharePoint list, click on the ‘Flow’ dropdown. Click ‘Create a Flow’.

-
Click ‘Show more’. Click ‘See more templates’.
-
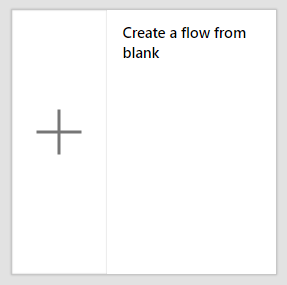
Click on ‘Create a flow from blank’.
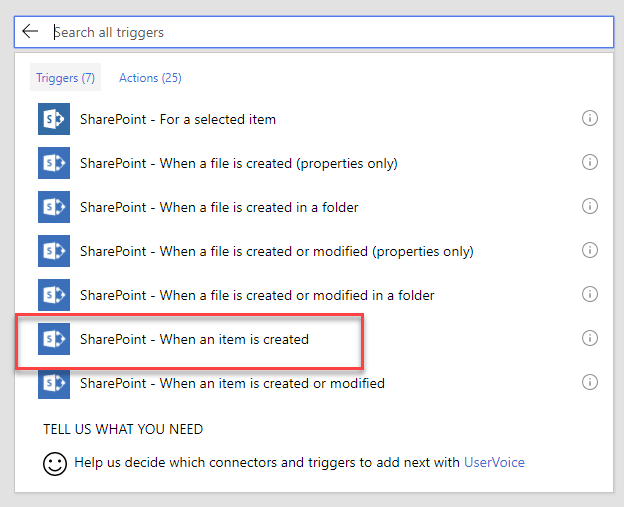
- In the search box for ‘Add a trigger’, search for SharePoint. Select ‘SharePoint - When an item is created’.
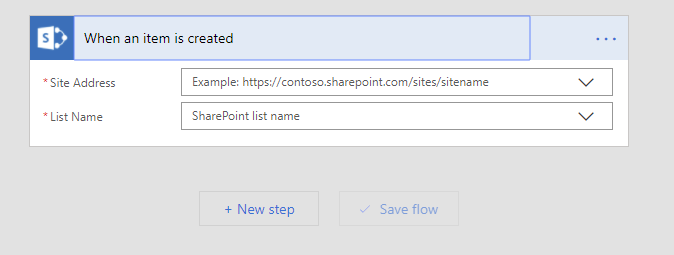
- Enter site address if it does not appear in the drop down. Select the list name. Click on ‘New step’.
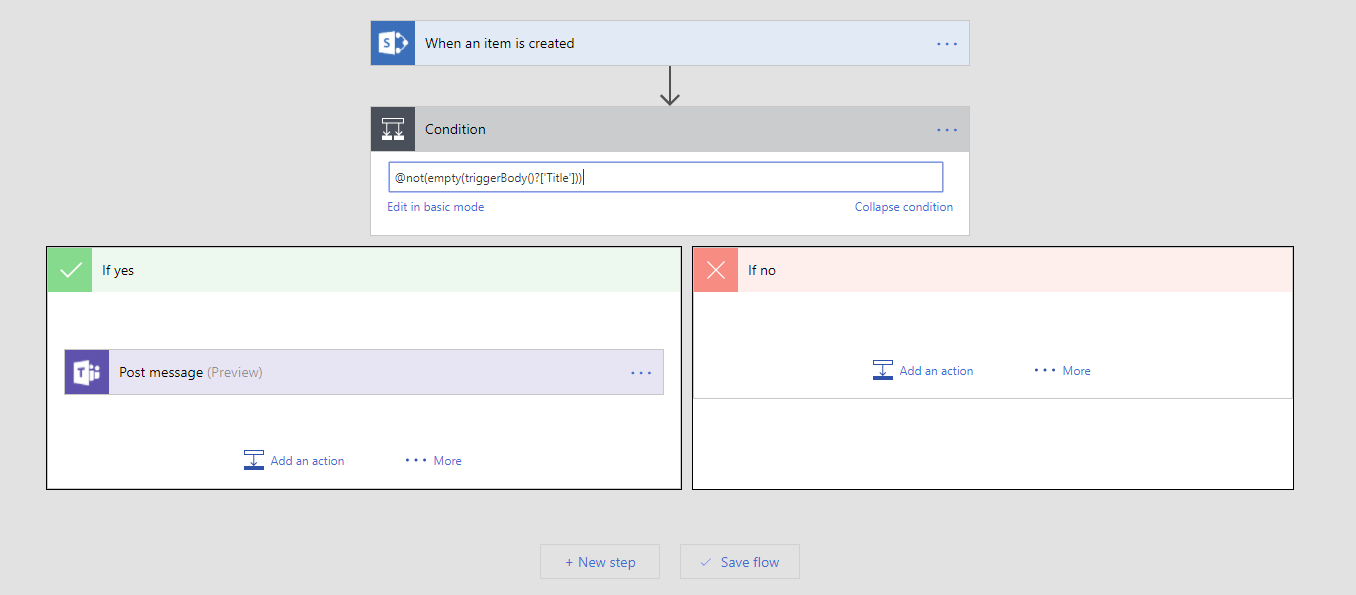
- Add a condition. Add: @not(empty(triggerBody()?[‘Title’])) as the condition. This will only trigger if there is an email address.

- Under ‘If yes’, click ‘Add an action’.
-
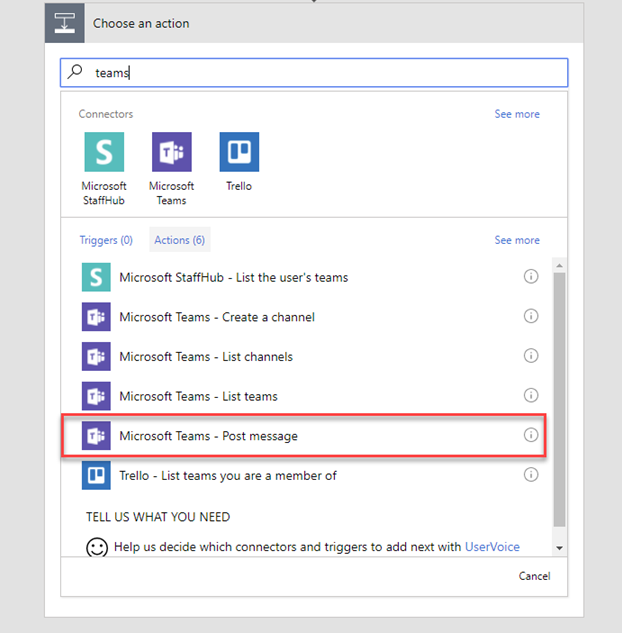
Search for Teams. Select ‘Microsoft Teams - Post message’.
-
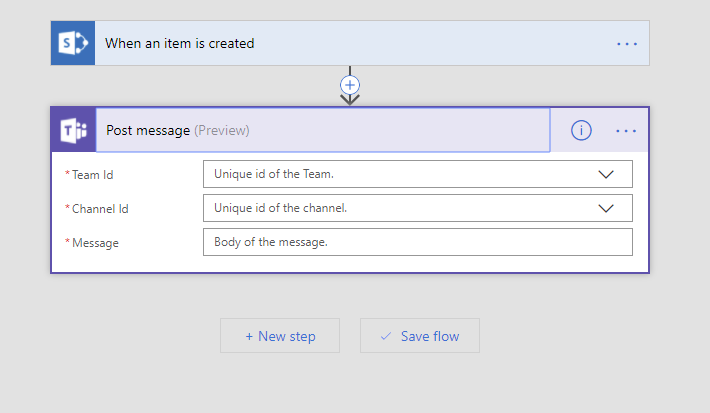
Enter the ‘Team Id’, ‘Channel Id’, and ‘Message’. For the ‘Message’, you can add in fields from the SharePoint list.

- Click ‘Save flow’
Results


Deployment
-
Log into the Azure Portal
-
Click ‘New’ to create a resource.

- Search for ‘function’. Click ‘Function App’ in the ‘Web + Mobile’ category.

- Click ‘Create’
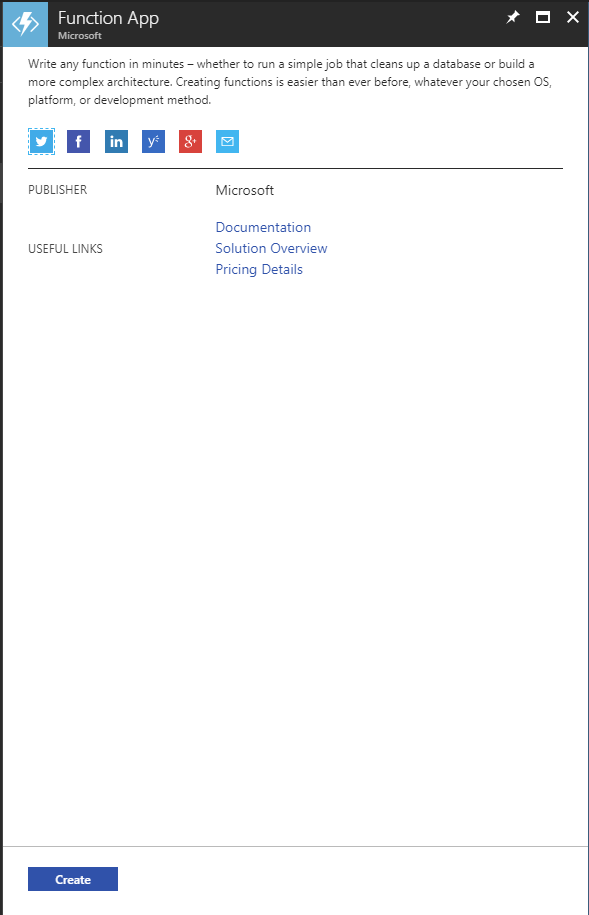
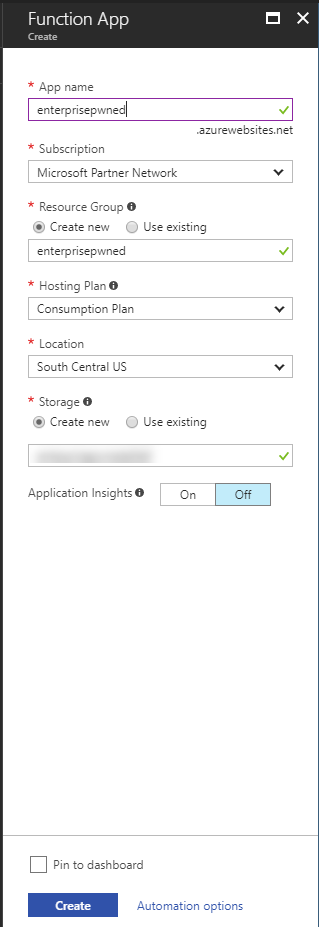
- Add ‘App name’, ‘Subscription’, ‘Resource Group’, ‘Hosting Plan’, ‘Location’, and ‘Storage’. Click ‘Create’.
-
Once your Function App has been deployed, you can navigate to it from the Notifications, or from the left Navigation.
-
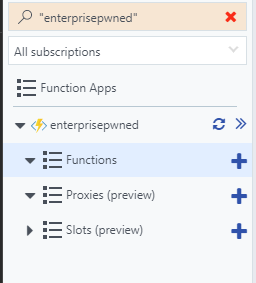
Click on + beside ‘Functions’ under your Function App heading.
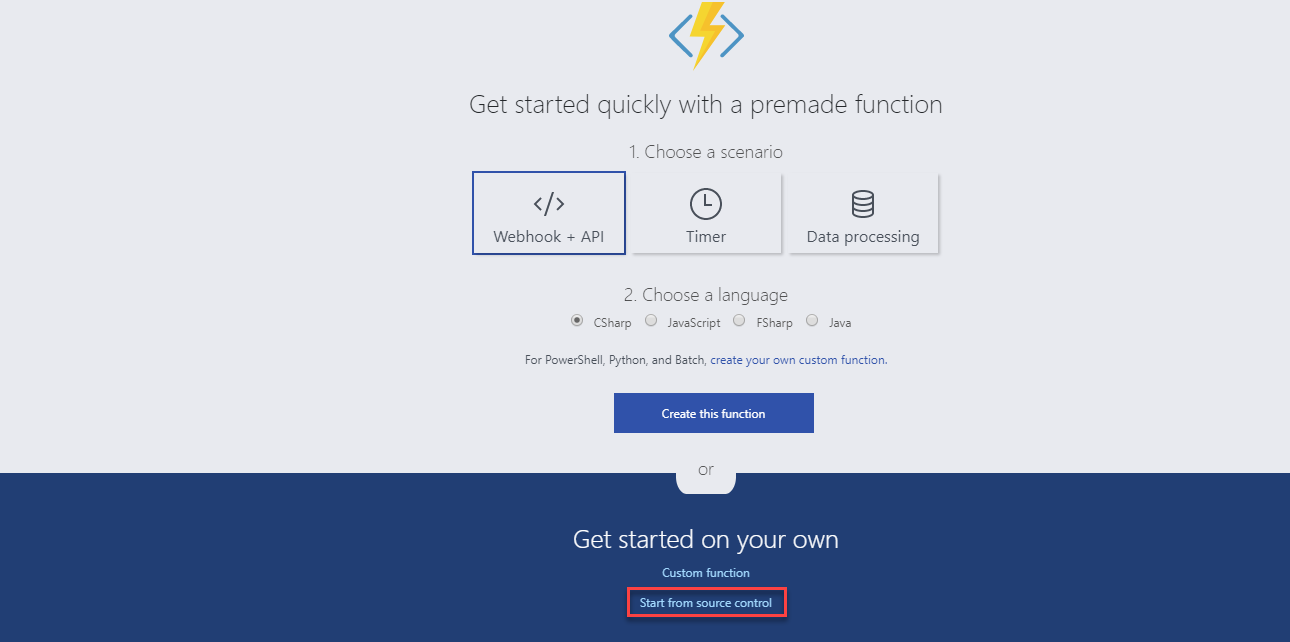
- These steps will outline deploying from source control. The function could also be added directly in the Azure Portal. Click ‘Start from source control’.
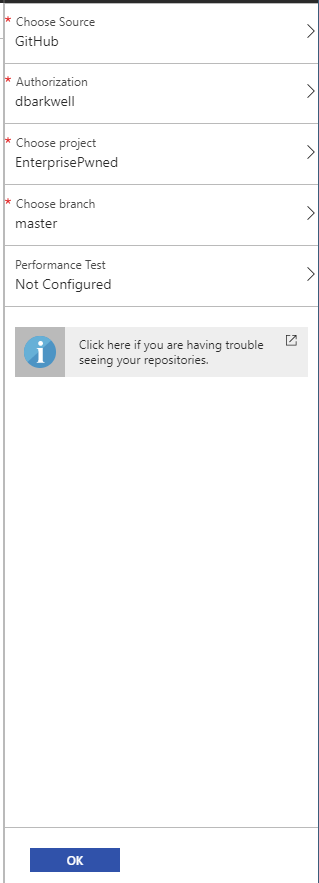
- Click ‘Setup’ to setup the deployment. Click ‘Choose Source’. You can connect to serveral source control repositories or file stores. Normally I deploy from Visual Studio Team Services, but in this example I will deploy from GitHub. Click ‘GitHub’

- Add ‘Authorization’, ‘Choose project’, ‘Choose branch’ and click ‘Ok’.
- After the Deployment has been setup, wait for the function to deploy and navigate back to the Function Apps screen. Click ‘Application settings’.

- Under ‘Application settings’, click ‘Add new setting’. This is where you will add the Environment Variables:
- Tenant
- ClientId
- ClientSecret
- SiteId
- ListId
AzureWebJobsStorage has already been populated from the Function setup, so you do not need to change that setting. Click ‘Save’.

- Restart your function.

Final Thoughts
At some point I will go back and change the SharePoint functionality. There should be two lists. One list would hold the breach information and the other would hold the breached addresses with a lookup to the breach information.